
Create and verify a first contract in about 10 minutes.
This walkthrough uses a narrow issue scope so you can confirm the calculation safely before expanding it.
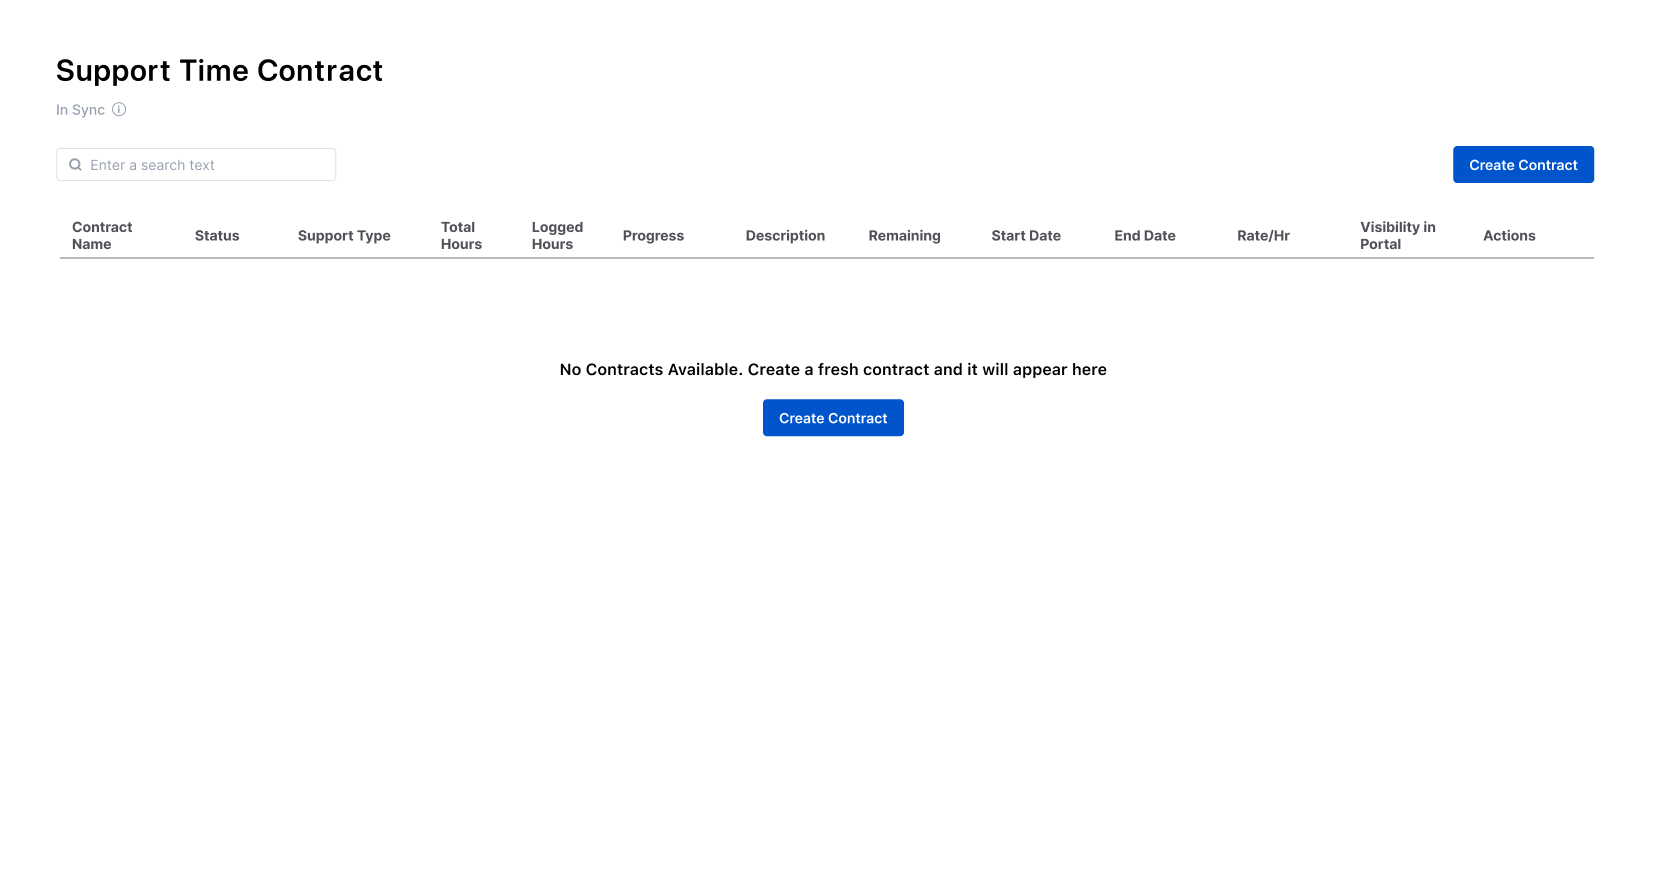
1. Prepare one test issue
-
Choose a Jira Service Management project enabled in the app's Settings.
-
Create or identify one request that should be covered.
-
Make sure you can add a small test worklog to it.
2. Create the contract
-
Open Apps → Support Time Contract Management.
-
Select Create Contract.
-
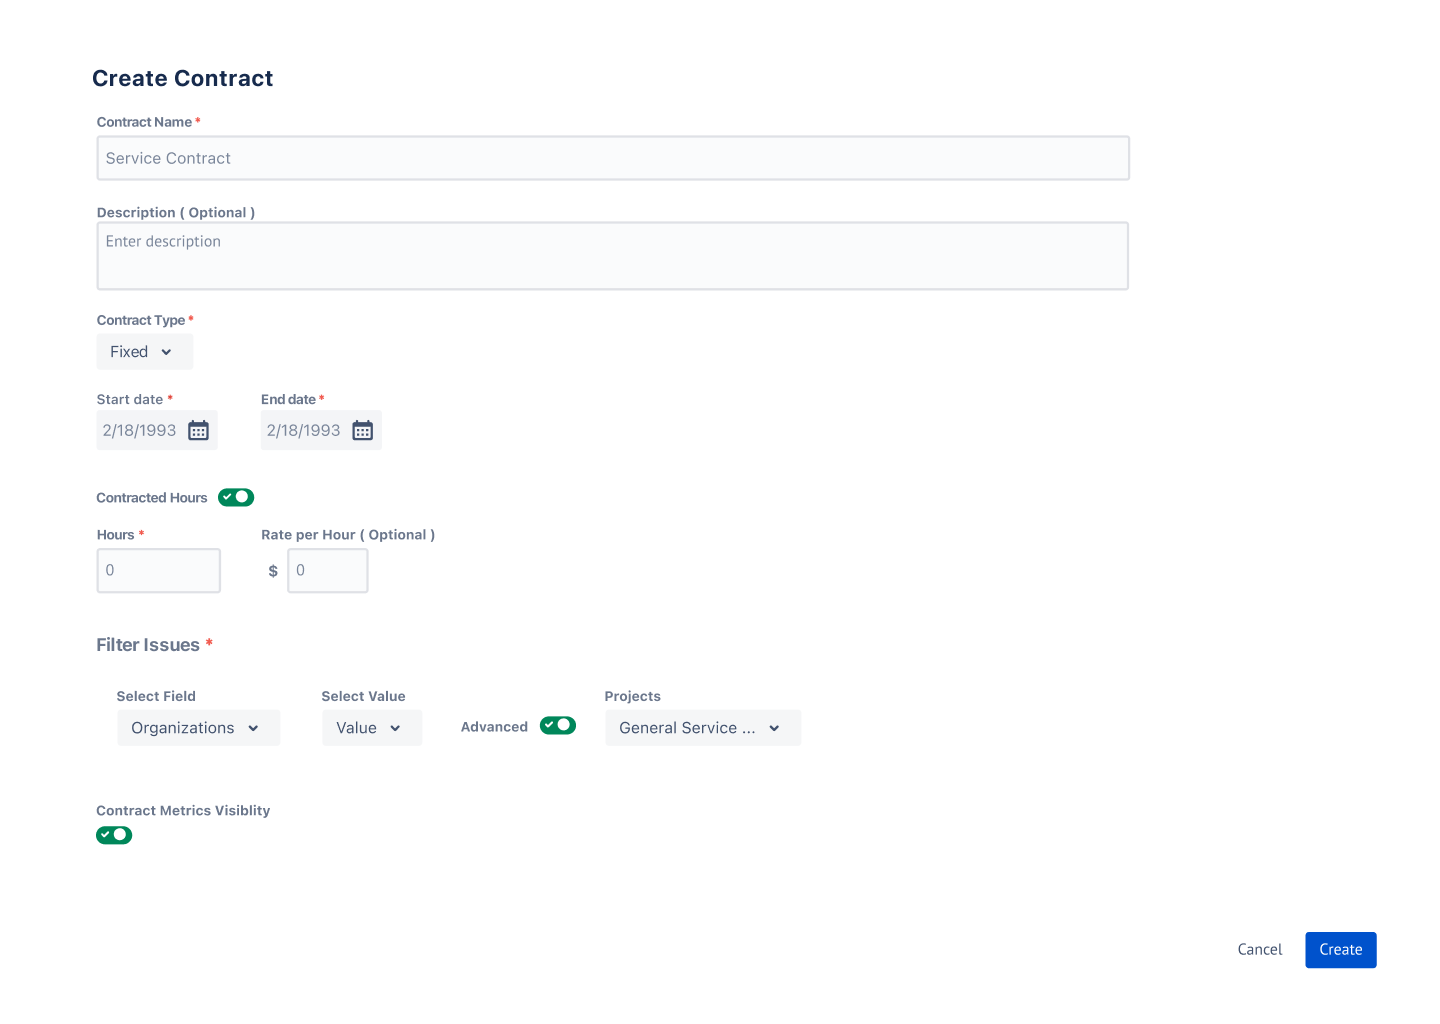
Enter a recognizable name such as Customer – Test Contract.
-
Choose the model that matches the commitment.
|
If you need… |
Choose… |
|---|---|
|
A defined service window |
Fixed Term |
|
A monthly or yearly renewable allowance |
Recurring |
|
A prepaid pool of hours |
Hour Bank |
See the full contract-type comparison and field guidance.
3. Limit the issue scope
Use the standard selectors to target the test customer or issue and project. If you use Advanced JQL, press Enter after entering the query so it is validated and applied.
4. Decide what the customer can see
Turn on Contract Metrics Visibility only if the test request should display contract metrics in the customer portal. Save the contract.
5. Verify the calculation
-
Add a small worklog to the covered Jira issue.
-
Return to the Contracts dashboard.
-
Confirm Logged Hours increased and Remaining and Progress changed as expected.
-
Confirm the badge matches the selected model and the status is ACTIVE.
-
If portal visibility is on, open the request as a customer and check the gauge.
Done: once the test behaves correctly, modify the contract to use the intended production scope.
Go deeper
Dashboard and contract actions · Customer portal metrics · Settings · FAQs and troubleshooting