
Create labels (tags) for the categories your team looks for, such as Documentation, Approved or Screenshot. A label belongs to your whole Jira: once it exists, everyone can use it in any project.
Create while labelling
-
Open Apps → Attachment Manager.
-
Select + in a file's Label column.
-
Type the new name in Search or create labels.
-
Select Create followed by the name you typed.
-
Pick a colour.
-
Select Apply. The label is created and added to the file.
The Attachments panel on a work item works the same way, except that the last button is Create label.
Create a label in settings
Jira administrators can prepare labels before anyone starts labelling.
-
Open Apps → Attachment Manager and select Manage labels.
-
Select Create label.
-
Enter a Name and choose a Colour.
-
Select Create.
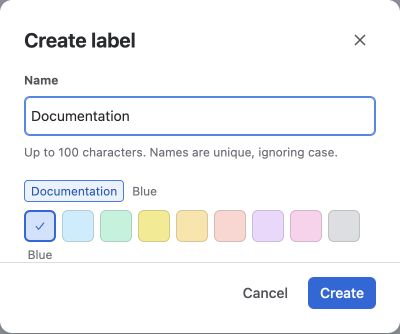
Label names are unique, ignoring capital letters: “Approved” and “approved” are the same label.
Related pages