To make a video with Storyboard AI, open a Jira work item (formerly called an issue), add screenshots or screen recordings as frames, add narration, and click Generate Video. Each work item holds one storyboard, which renders to an MP4 you can download.
Pick whichever route suits you — they build the same thing:
-
Build it in the editor — full control, frame by frame.
-
Build it with the agent — describe what you want in Rovo chat and let the Storyboard AI agent assemble it. Requires Rovo on your site.
You can switch between them mid-way: anything the agent creates opens in the editor, and anything you build in the editor the agent can read and change.
Build it in the editor
-
Open the panel
-
Open any Jira work item.
-
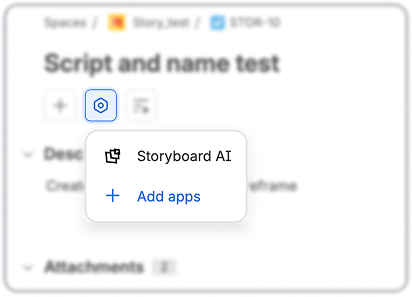
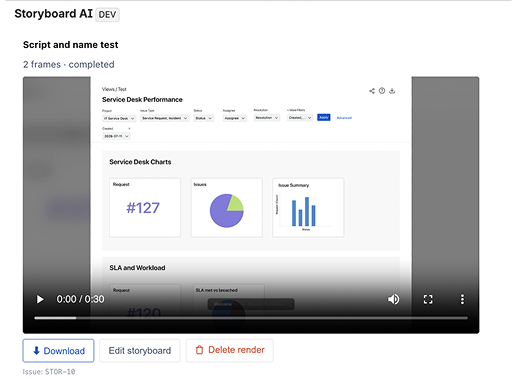
Click the Apps button under the work item's title, then choose Storyboard AI. The Storyboard AI panel opens below the description.
-
Click Open editor to launch the full editor.
-
You only need the Apps button the first time. After that, the panel stays on that work item for everyone who opens it.
-
-
Pick a template
-
Choose Product Walkthrough, LinkedIn Post, or In-App Docs to apply a preset (aspect ratio, default voice, caption style, transition, and cover background) in one click.
-
Edit any of the settings in the left panel
-
Toggle Override global style mode to tweak transitions for each frame or you can apply the new settings to every frame.
-
-
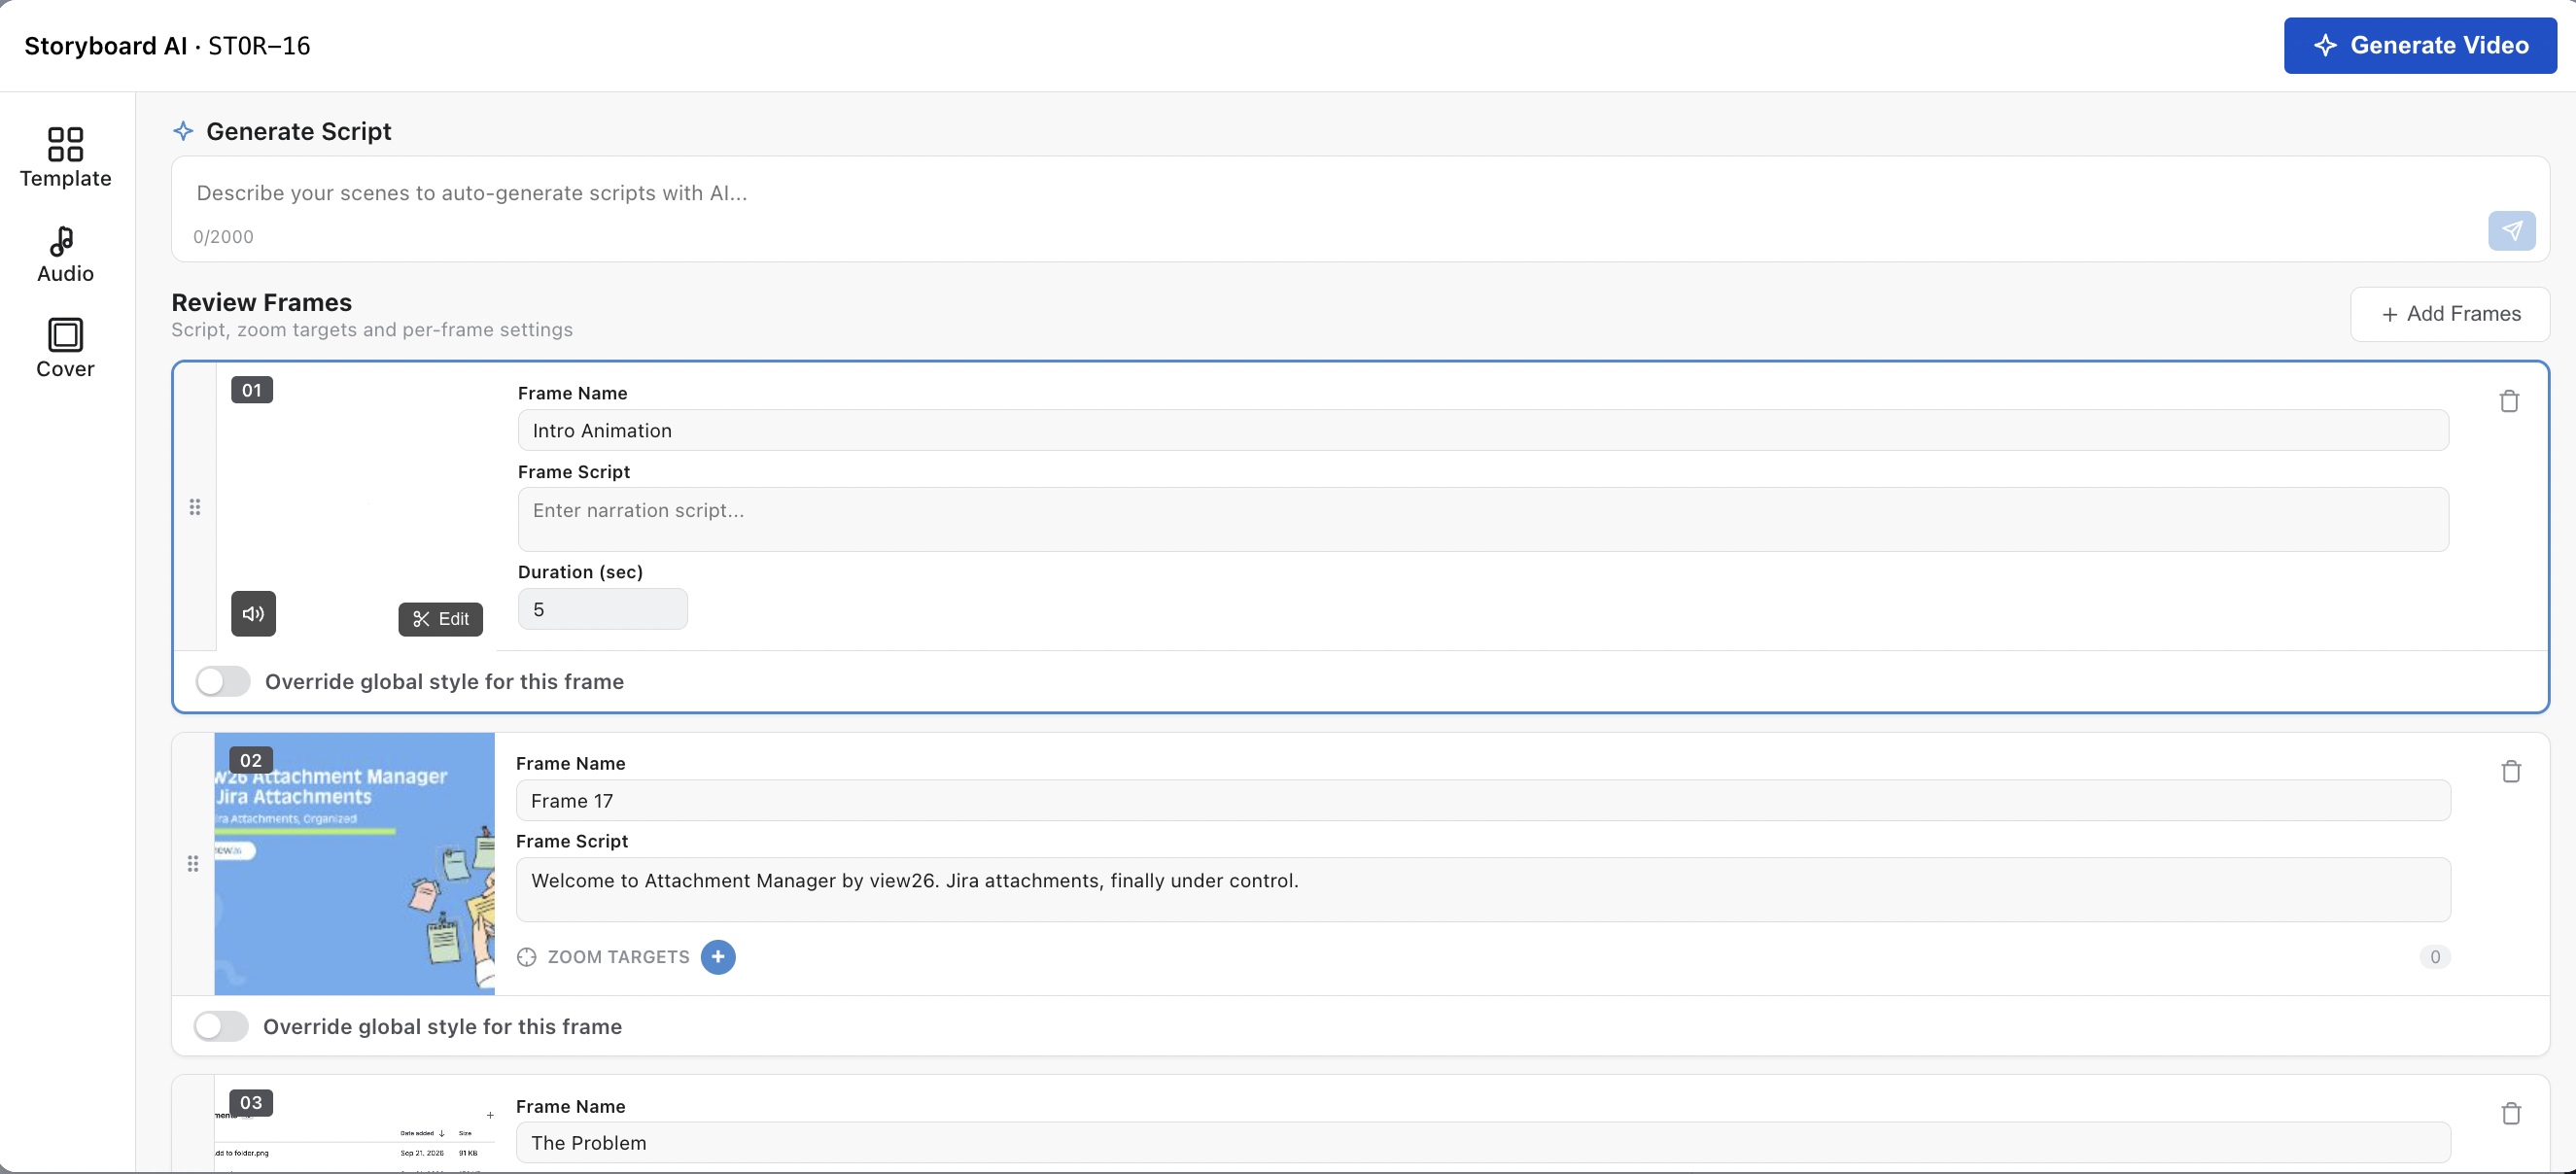
Add frames
-
Click Add Frames to select one or more files.
-
Any image or video file is accepted. PNG, JPG, WebP for images, and MP4, WebM, or MOV for clips — other types may upload but aren't guaranteed to render. Maximum asset size: 200 MB per file.
-
Drag to reorder the frames.
-
Smaller files — under roughly 4 MB — are also copied into the work item's Attachments section, so they stay visible on the ticket. Anything larger, which includes most video clips, lives in the storyboard only.
-
-
-
Write narration
-
Enter narration text for each frame. Storyboard AI auto-saves as you type.
-
Or click Generate scripts to have AI draft narration for every frame from a brief description of your topic and tone. Edit the drafts freely before rendering.
-
-
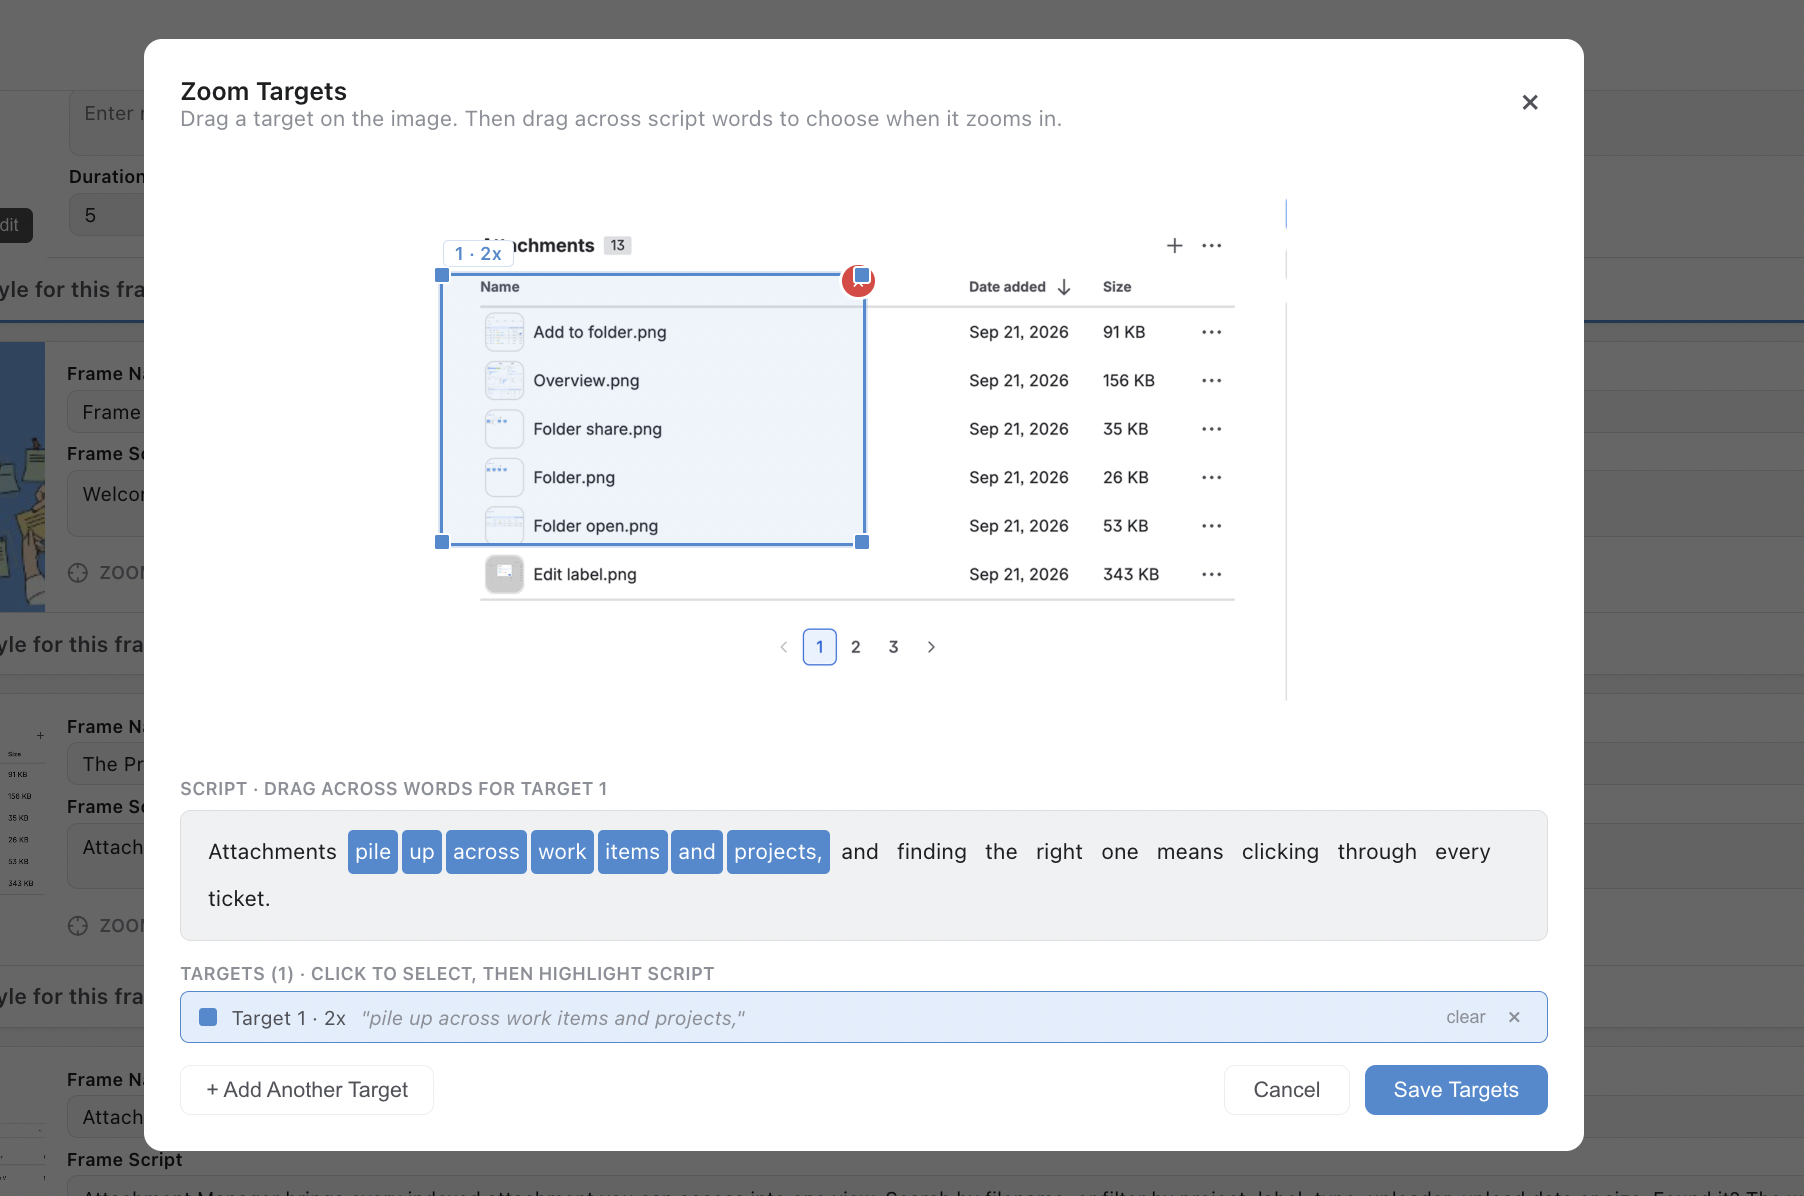
Add zoom targets
-
Click + to select an area of an image to draw focus to.
-
Drag along the words in the script to focus that area when those words are narrated.
-
-
-
Adjust the look
-
Choose a different template, voice, or caption style from the left panel.
-
Add, remove, or edit the cover frame.
-
Add logo branding.
-
-
Render and download
-
Click Generate Video.
-
Storyboard AI synthesizes the voiceover, builds captions from word-level timestamps, and renders the video.
-
Progress appears in the panel. You can close the editor — the render continues in the background.
-
When it finishes, preview the video and download the MP4.
-
Build it with the agent
If your site has Rovo enabled, the Storyboard AI agent can do the same job through chat. No extra setup — it's available as soon as the app is installed.
-
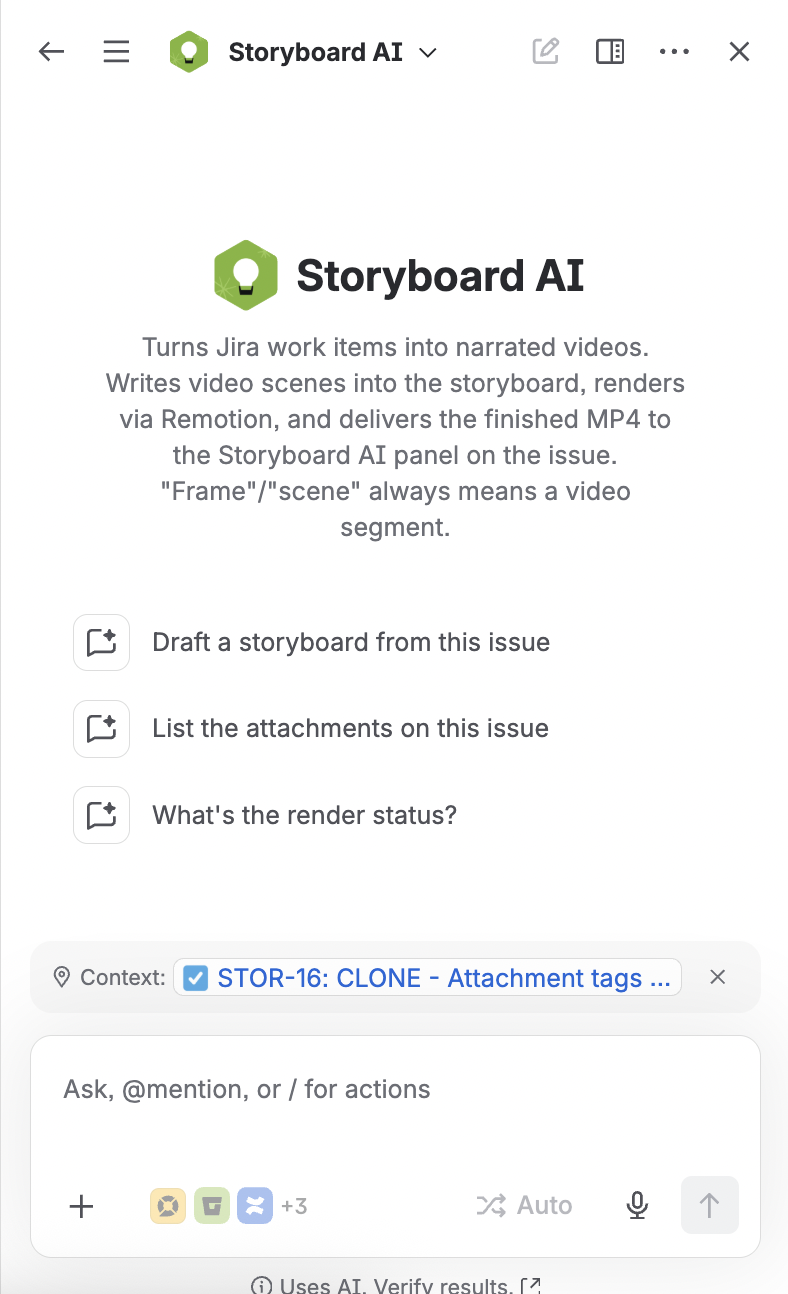
Start a conversation
-
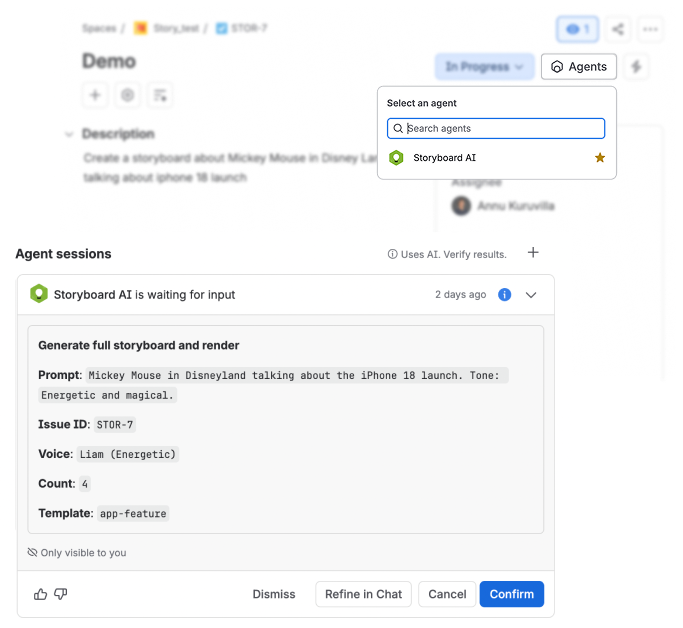
Find Storyboard AI in Rovo chat, from the Agent option in the work item or mention the agent from a work item.
-
-
-
Use one of its suggested prompts — Draft a storyboard from this issue — or describe what you want: "make a 5-scene walkthrough from the screenshots on this ticket, use Sarah's voice, LinkedIn Post template."
-
The first time the agent acts for you, Rovo asks you to grant consent.
-
-
Let it draft
-
The agent can build scenes from the work item's content, from a topic you give it, or from the files already attached to the ticket.
-
Ask it to rewrite narration, add or reorder scenes, or change the template, voice, aspect ratio, or caption style.
-
-
Render
-
Ask it to generate the narration audio and start the render.
-
Then open the work item's Storyboard AI panel. The finished MP4 is delivered there, and a completed render is only settled once that panel loads — so the panel, not the chat thread, is what confirms the video landed.
-
For the full list of what the agent can do and its limits, see Rovo Agent.